References

RMF Tool Step by Step Walkthrough

Last Updated: 04 April 2025


1. Introduction to RMF Tool


RMF Tool is a web-based platform designed to simplify and automate compliance with the NIST Risk Management Framework (RMF). Whether you are a federal contractor, cybersecurity consultant, managed security service provider (MSSP), or private enterprise, RMF Tool enables you to efficiently manage key compliance activities—such as system categorization, security control selection and tailoring, and System Security Plan (SSP) generation.

Developed under NIST funding, RMF Tool aligns with key frameworks including NIST SP 800-37, SP 800-53 Rev. 5, FIPS 199, and FedRAMP. The platform reduces manual documentation, improves collaboration across teams, and accelerates readiness for audits or security assessments.

This user guide provides step-by-step instructions for using RMF Tool’s features, including interactive questionnaires, automated SSP exports, and multi-user project management—helping your organization stay secure, compliant, and audit-ready.


2. Getting Started


Alt

Your admin account and organization profile will be created by an RMF Tool onboarding specialist, including a temporary password for initial login. Once your account is set up, you’ll receive an email to verify your address and welcome you onto the RMF Tool platform. From there, you can log in for the first time using the temporary password provided, and you’ll be prompted to set a new password of your choice.

Once logged in, you’ll have access to your organization dashboard, where you can update details such as your organization’s name, description, and contact information. You can also manage team members by inviting new users, activating or suspending accounts, and removing access—all of which can be done at any time. For more on team management, see section 4. Assigning Roles and Team Members.


3. Creating and Managing Projects


Alt

Once your organization profile is updated, you can begin creating new projects by clicking the blue “Create Project” button under the Risk Management Framework (RMF) Projects section and confirming your selection. You'll be prompted to enter key system details—such as the project name, description, keywords, priority, and due date—to establish a foundation for managing security and privacy risks. After submission, you’ll be directed to the project dashboard for that specific system, where you can begin the RMF process.


4. Assigning Roles and Team Members


Alt

To invite team members, go to either “Manage Organization Members” on the organization dashboard or “Step 1: Project Team” within the project dashboard. Click the blue “Invite Team Members” button, then enter the person’s name, email address, and an optional message. Click “Send Invitation” to email them a link to log in and join the platform.

Once invited, you can assign roles by clicking “Assign Role” in the “List Members by Name” section. Alternatively, you can assign roles by email address using the “Grant Member” option in the “List Members by Role” section. If you’re an administrator, you can assign yourself a role according to your credentials.


5. Tracking Questionnaire Progress


Alt

After team members are invited and roles are assigned, users will be prompted to complete an interactive questionnaire related to the organization’s security posture, tailored to their assigned roles.

As the administrator, you can track their progress in the Project Dashboard under “Step 2: Track Questionnaire Progress”. This section allows you to view submitted responses and export them as a PDF for your records.

If you’ve been assigned an additional role beyond your administrator responsibilities, you can complete your corresponding interactive questionnaire by going to the Organization Dashboard and selecting “Go to my project dashboard” in the blue section at the top left under “My Account.” Then, click “Open Questionnaire” to answer the questions specific to your assigned role. To return to the administrative dashboard, select “Switch to Admin View” in the top right.


6. System Categorization


Alt

As answers to the interactive questionnaire are submitted, you can transition to the next phase: Step 3 – Security Categorization. Based on the responses, the system automatically generates information types, referred to as containers and capabilities, using Cloud Security Alliance (CSA) Enterprise Architecture (EA) principles.

These information types represent critical components of your system—such as applications, services, or roles—and are the basis for assigning appropriate security impact levels.

When you first enter this step, you'll see the System Breakdown table. This table provides a detailed view of how your system’s containers and capabilities map to:

  • NIST Cybersecurity Framework (CSF) categories and subcategories

  • NIST SP 800-53 Rev. 5 controls, grouped by impact level

  • Additional suggested controls and FedRAMP requirements

  • The container or capability associated with each CSF subcategory

This helps you understand how different parts of your system align with cybersecurity requirements and what level of protection is expected based on the sensitivity of each component.

To assign security impact levels, click the yellow “Task: Edit Impact Level” button next to each information type. In the editing panel, assign values for the three core security objectives:

  • Confidentiality – How important it is to protect the data from unauthorized access

  • Integrity – How critical it is to ensure the data remains accurate and unaltered

  • Availability – How essential it is for the data to be accessible when needed

Select Low, Moderate, or High for each objective based on the potential impact to your organization. The table updates automatically to reflect applicable control sets, ensuring your system is categorized in a way that’s risk-informed, accurate, and compliant with NIST and FedRAMP standards.

Once all impact levels are assigned, move to the Review & Confirm section. Here, you’ll validate the final categorization for each information type. You’ll need to provide a brief comment or justification for each selection to ensure the decisions are properly documented for audits and future assessments.

After confirming all impact levels and justifications, click “Validate and Authorize System Security Categorization” to finalize the categorization phase. This locks your selections and prepares the system for the next step: Security Control Selection.


7. Control Selection and Tailoring


Alt

After completing system categorization, proceed to Step 4 – Select Security Controls. Start by clicking the blue “Select Framework (NIST or FedRAMP)” button at the top left of the screen. This defines the baseline security standard used to generate the initial set of controls tailored to your system’s impact levels.

Next, go to the System Breakdown table and click the blue “Task: Identify Controls” button beside each information type. This opens a list of pre-selected controls based on the categorization results.

For each control, you must:

  • Classify the control as common, system-specific, or hybrid

  • Provide a justification for the classification to ensure accountability and traceability

If you need to update a classification, click the “Select” button in the Action column next to that control. Once all controls for the selected information type are classified, click “Back to Risk Management Framework (RMF) Select Step” and repeat the process for any remaining information types.

When all applicable controls are classified, click “Confirm Classification & Proceed” to move on to the tailoring stage.


Control Tailoring

Click the blue “Task: Tailor Controls” button in the System Breakdown table for each information type to begin tailoring. During this step, you can refine how controls will be applied based on the system’s risk posture, technical limitations, and operating context.

Within the tailoring interface, you can:

  • Apply scoping considerations

  • Assign control parameters

  • Add compensating controls where a standard control cannot be applied as required


Scoping Considerations

Scoping determines whether a control is fully applicable, partially applicable, or not applicable based on real-world implementation constraints. You may also downgrade a control’s security objective (Confidentiality, Integrity, Availability) or mark it as “does not apply” when appropriate. Justifications are required for all such actions.

Consider the following scoping categories:

  • Security Objectives - Determine which objectives the control supports and whether they apply

  • Technology Constraints - Assess if platform limitations affect applicability

  • Legal & Policy Requirements - Identify any required or exempted controls based on regulation

  • Operational & Environmental Factors - Account for physical conditions or staffing limitations

  • Mission & Business Needs - Focus on relevance to system purpose

  • Implementation, Applicability, and Placement - Define how and where a control is implemented


Control Parameter Assignment

Some controls contain customizable control parameters that must be specified to reflect how the control will be applied. For example:

  • The frequency of security audits or log reviews

  • Types of events to monitor

  • Roles and responsibilities for implementation

  • Retention periods or formats for logs and reports

The RMF Tool highlights any controls requiring parameter input. Complete these fields to ensure compliance and clarity across your implementation.

Once all tailoring actions are complete—including scoping decisions, compensating controls, and parameter entries—click “Confirm Tailoring” for each information type. This finalizes the selection and tailoring of security controls and advances the process toward SSP documentation and export.


8. Documentation & Reporting


Alt

After completing control tailoring, the final step in the RMF process is Documentation & Reporting. This section provides formalized outputs that summarize your implementation and support internal tracking, audits, or external assessments.

From the project dashboard, navigate to the Documentation & Reporting section to access the following key components:

Current Profile

Use the Target Profile to define a desired future state by outlining additional or enhanced controls your system plans to implement. This supports continuous improvement and alignment with evolving compliance goals. It is also available in PDF, Word, or OSCAL formats.

Target Profile

Displays the finalized set of selected and tailored controls currently applied to your system. It reflects your system’s present security posture based on categorization, selection, and tailoring decisions. You can download the Current Profile in PDF, Word, or OSCAL formats.

System Security Plan (SSP)

The SSP compiles all control selections, impact levels, scoping considerations, and tailoring justifications into one exportable document. You can download the SSP in PDF, Word, or OSCAL formats for audits, assessments, or internal compliance workflows

Each of these sections includes a search function that allows you to quickly locate and filter information within the Current Profile, Target Profile, or SSP by entering a control identifier (e.g., AC-02, RA-05). This feature helps users efficiently navigate large sets of controls and documentation.

Once you’ve reviewed and exported your documentation, your RMF process is fully captured and ready for submission, collaboration, or continuous monitoring.


Risk Management Framework Reference Documents

This library includes official NIST and federal publications that support RMF Tool functionality—covering system categorization, control selection, risk assessment, and documentation. These documents help organizations align with the Risk Management Framework (RMF), FISMA, and related standards using RMF Tool.

Risk Management Framework Process

NIST SP 800-37 Rev. 2

Core RMF guidance used by RMF Tool to automate risk-based compliance for information systems and organizations.

NIST SP 800-39

Enterprise-wide risk management strategy supporting RMF Tool planning workflows.


NIST SP 800-30 Rev. 1

Risk assessment methodology applied within RMF Tool’s categorization and selection steps.


Appendix III to OMB Circular A-130
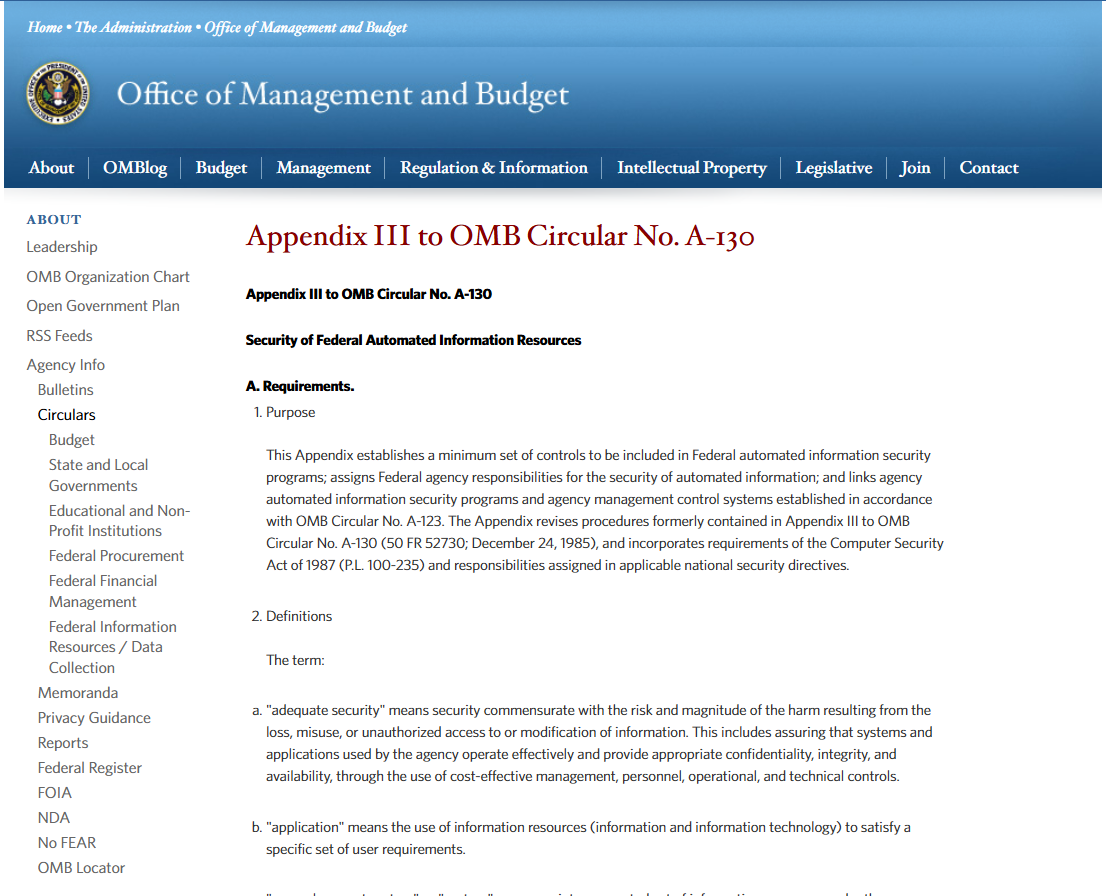
Federal information management policy aligned with RMF Tool’s authorization process.


System Categorization for RMF

FIPS 199

Defines confidentiality, integrity, and availability (CIA) impact levels used in RMF Tool's system categorization.

NIST SP 800-60 Rev. 2 Volume 1 (Working Draft)

Maps information types to impact levels within RMF Tool’s categorization workflow.

NIST SP 800-60 Rev. 1 Volume 2

Supports detailed categorization and helps RMF Tool users evaluate appropriate security levels.


Control Selection & Tailoring

NIST SP 800-53 Rev. 5

Complete catalog of controls tailored through RMF Tool for NIST, FedRAMP, and CMMC alignment.

CNSSI 1253

National security overlays integrated into RMF Tool for federal and classified environments.

FIPS 200

Baseline security requirements used in RMF Tool control selection logic.


Control Assessment & Authorization

NIST SP 800-53A Rev. 5

Control assessment procedures embedded into RMF Tool's reporting and SSP outputs.

Security Planning & Documentation

NIST SP 800-18 Rev. 1

Primary reference for developing System Security Plans (SSPs) using RMF Tool.

Framework Alignment & Architecture

NIST Cybersecurity Framework (CSF) 2.0

High-level risk management framework that complements RMF Tool use cases.

CSA Enterprise Architecture Reference Guide V2.0
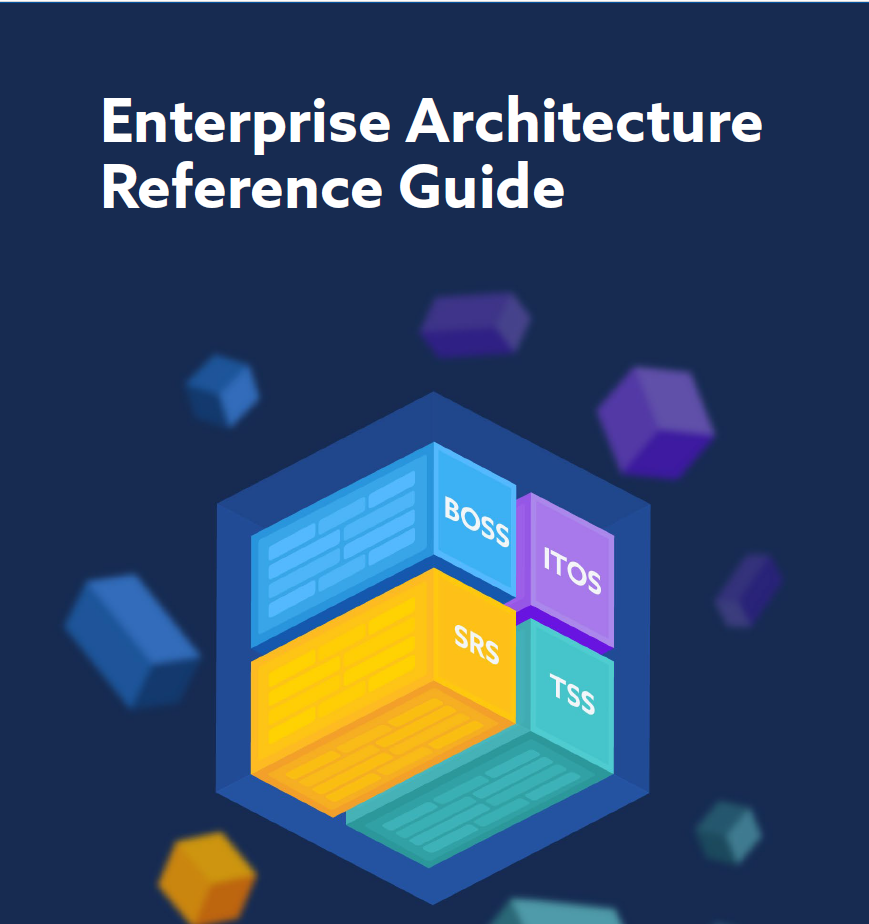
Cloud architecture reference for integrating RMF Tool into enterprise environments.